
Pallet Wood Mail Holder
Materials
Pallet Wood or wood of choosing
Keys or purchased hooks
Spar Urthane
Nails
Tools
Brad Nailer
Miter Saw
Jig Saw

I started by removing the wood from the pallet with my jig saw.
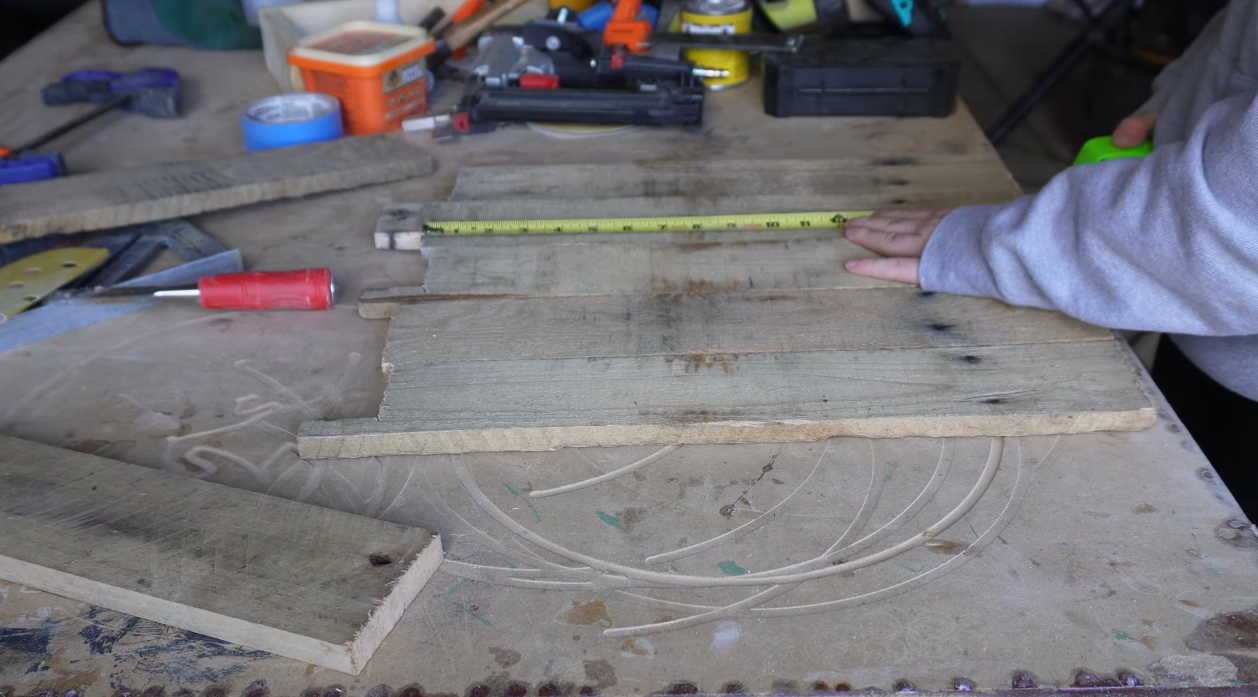
After I had enough pieces I then measured the lenght I could cut them all to and made those cuts on my miter saw.

For this piece I will be using support pieces on the top and bottom of this mail holder to secure everything in place. Since this is rough pallet wood it would be challenging to glue all these pieces together, so this will avoid that.
I measured the lenght of how long to cut these support pieces and cut them at my miter saw.

I then gave everything a light sanding to remove some of those rough areas and splinters from the pallet wood.

I clamped all the pieces of the pallet wood together to hold everything in place while I attached the top and bottom support pieces.

I then used my brad nailer to nail the top and bottom pieces to the wood.

This secured everything together super easliy.

For the actual mail holder I took another piece of pallet wood and used my speed square to hold that up at a 45 degree angle.
That angle looked good so I set my miter saw to 45 degrees and cut two triangles.

I then used my brad nailer to nail those triangles in place and then nailed the front of the mail holder to the triagnles.
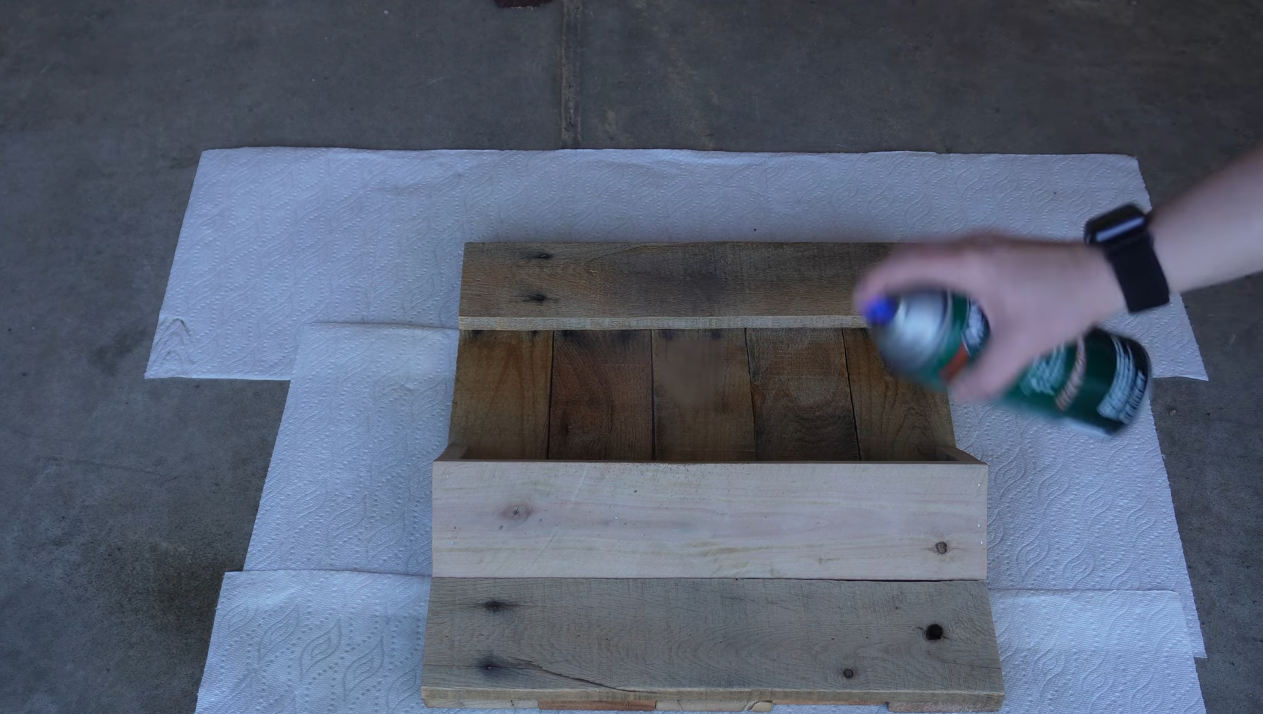
Even though this will be inside I sealed it with Spar Urthane (it’s what I had on hand). This gave the mail holder a really smooth finish and locked in any of those loose wood splinters, it also gave the mail holder a really nice color.

I decided to make hooks from blank keys for this by just bending keys. You have to be super careful bending these keys, I broke a few in the process.
You could also buy hooks. Attach the keys or hooks using screws, and there you have a pallet wood mail holder!
