
Easy DIY TeePee Tent

Materials:
4 - 1x2 pine boards
3 - 3/4 inch dowels
Fabric
String
Tools:
Drill
3/4 inch drill bit
Miter saw
Oribital Sander or Sand Paper

Start by meausring the length, width, and height that you want your Teepee tent, this will depend on who it is for. Then make all your cuts for the 1x2s and dowels on your miter saw.
*Tip: I cut 2 - 1x2s at the same time to ensure they were cut at the send length!
After cutting all your pieces you can give everything a light sand to smooth out those harsh edges.

Next using your 3/4 inch drill bit drill the holes for the dowels! Measure out where you want these palced based on your preference. I went with 4 inchs in for the top and 3/4 in for the bottom.
For this step I also drilled the holes in 2 pieces at a time to ensure they were in the same place.
This step is easiest to do when you clamp your wood to a table and have the part you are drilling hang over the edge.

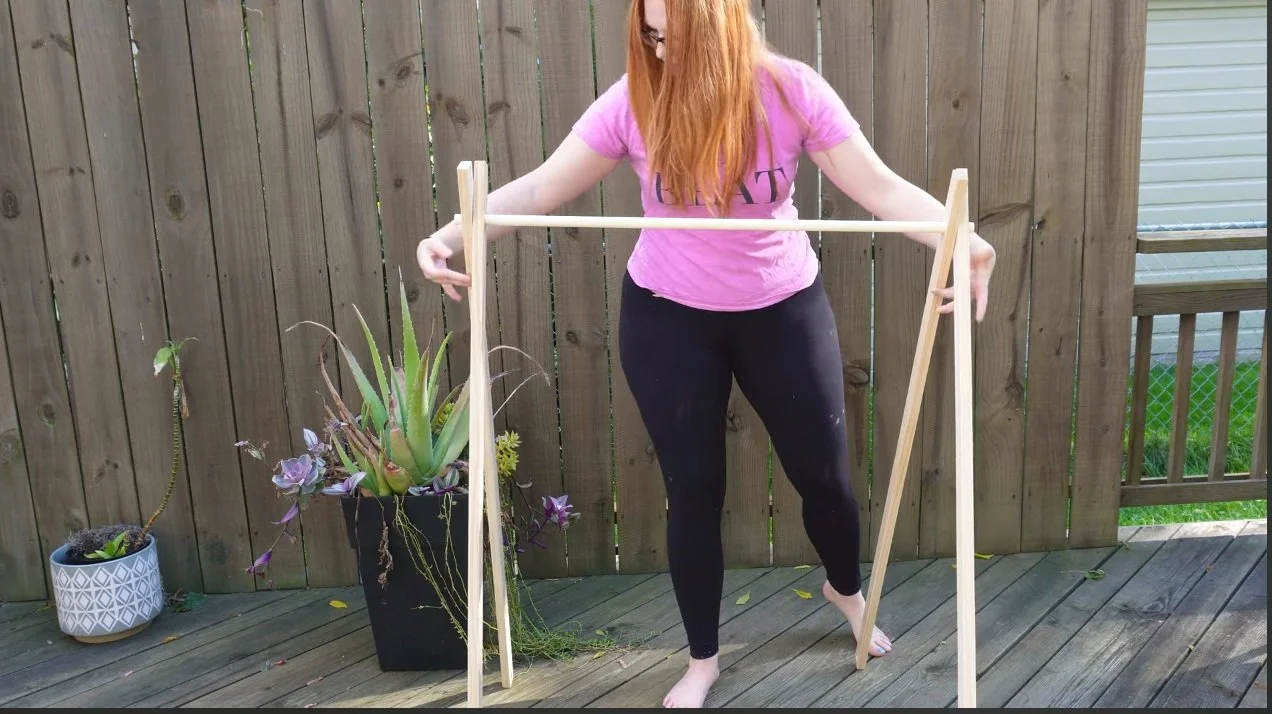
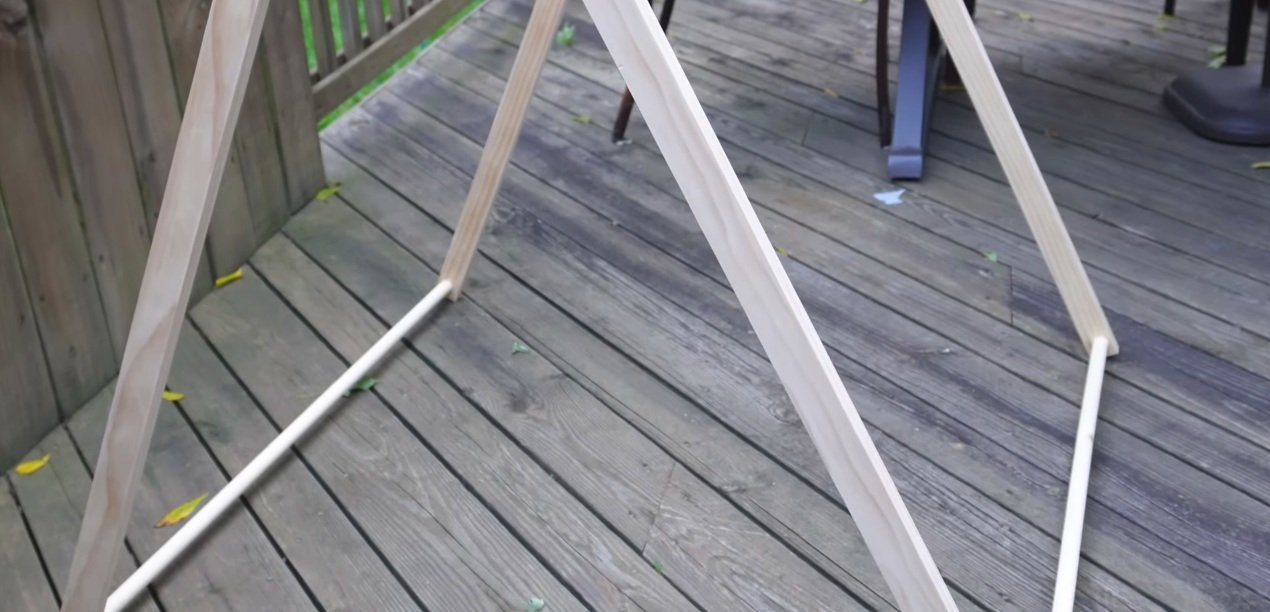
Now we can assemble the tent! Put the dowels in the top holes of the 4 1x2s and you will be able to easily open the legs to get that tent shape.
Then just put the dowels in the bottom holes, and there’s your tent frame!
Next take your fabric and measure how much you need. To figure this out I put the fabric over the tent and around the dowels making sure to give myselft about 1-2 inches of fabric on the bottom dowels. I also measured the width in between the front and back.
Use fabric sissors, it will make your life much easier!

To attach the fabris to the frame I place the fabric over the tent and wrapped the extra fabric around the bottom two dowels. I secured the fabric using hot glue. This is super easy and if you ever want to change out the fabric, all you have to do is cut it off.

Lastly tie a string from one end of the Teepee to the other. This will stop the tent from sliding open on hard surfaces.

And there you have an easy DIY Teepee tent!

